Installation and Configuration
Installation
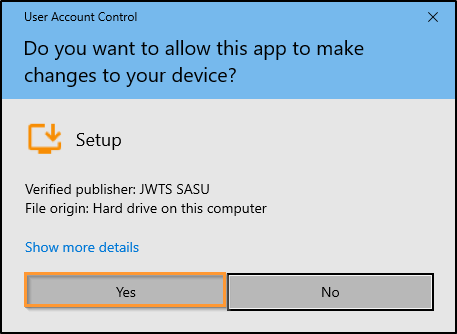
Run TSplus Remote Access Setup program and then follow the installation steps.
Your local administrator password is required after the first restart of TSplus Remote Access.
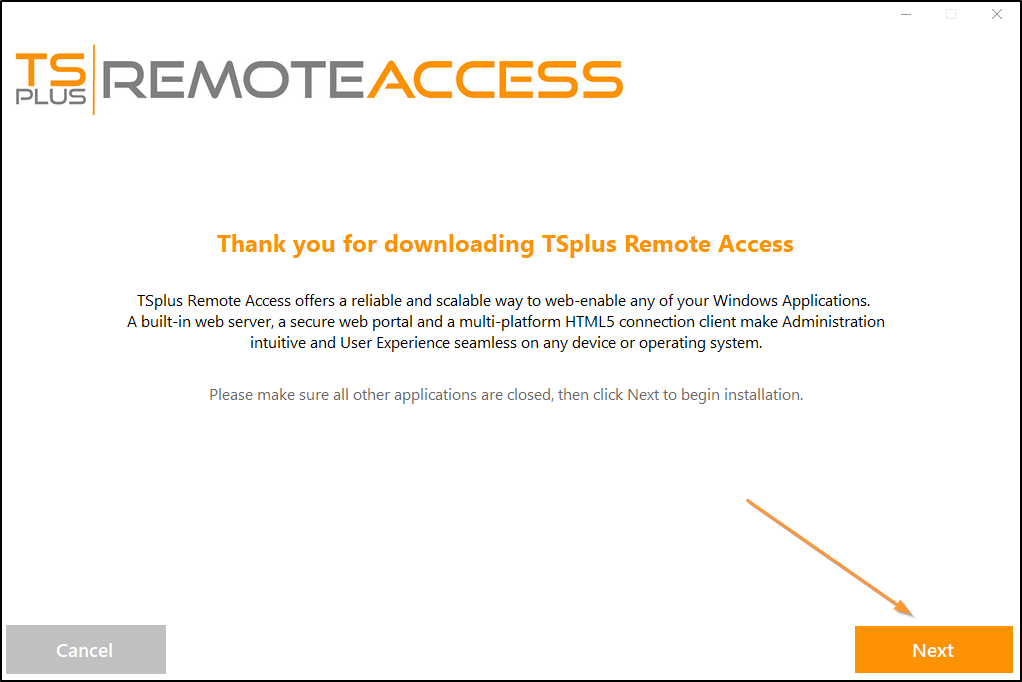
You can then select your language (possible to change it later)
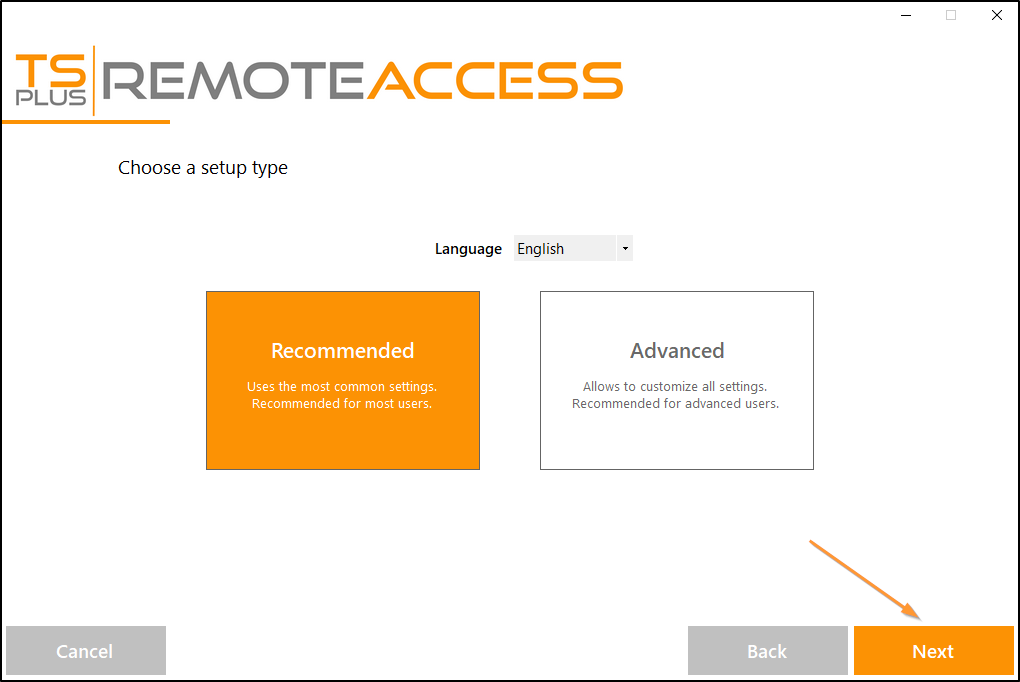
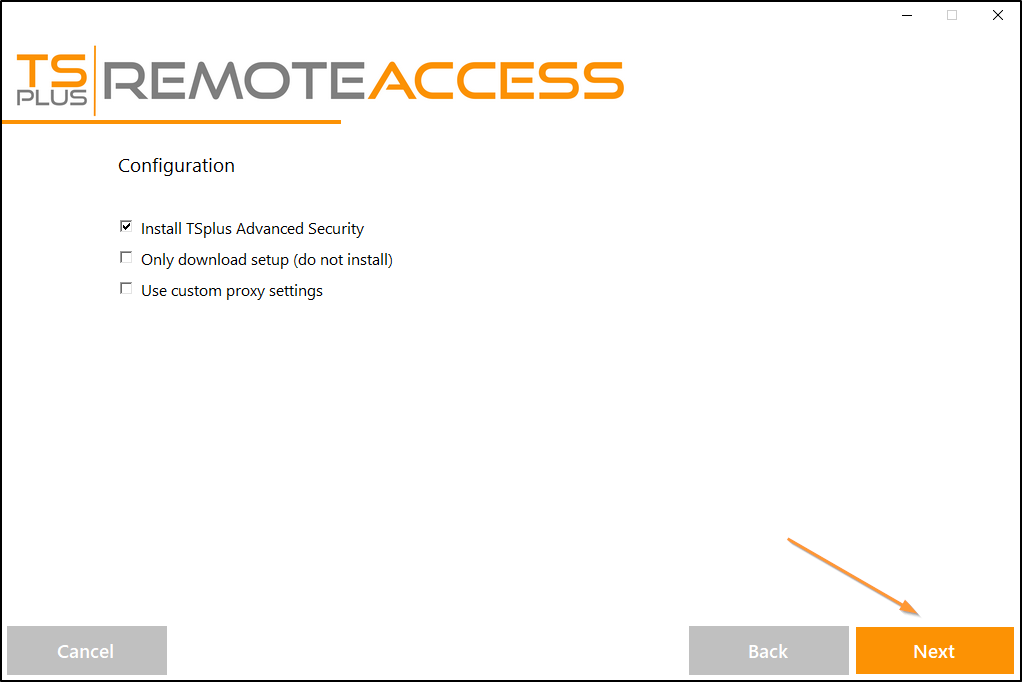
You can then select two custom options by checking the corresponding boxes: Recommended or Advanced
The Advanced option allows you to:
- Not install TSplus Advanced Security.
- Use custom proxy settings.
- Download only the installer, which does not install TSplus.
- Change default ports (not recommended).
Click on Next.
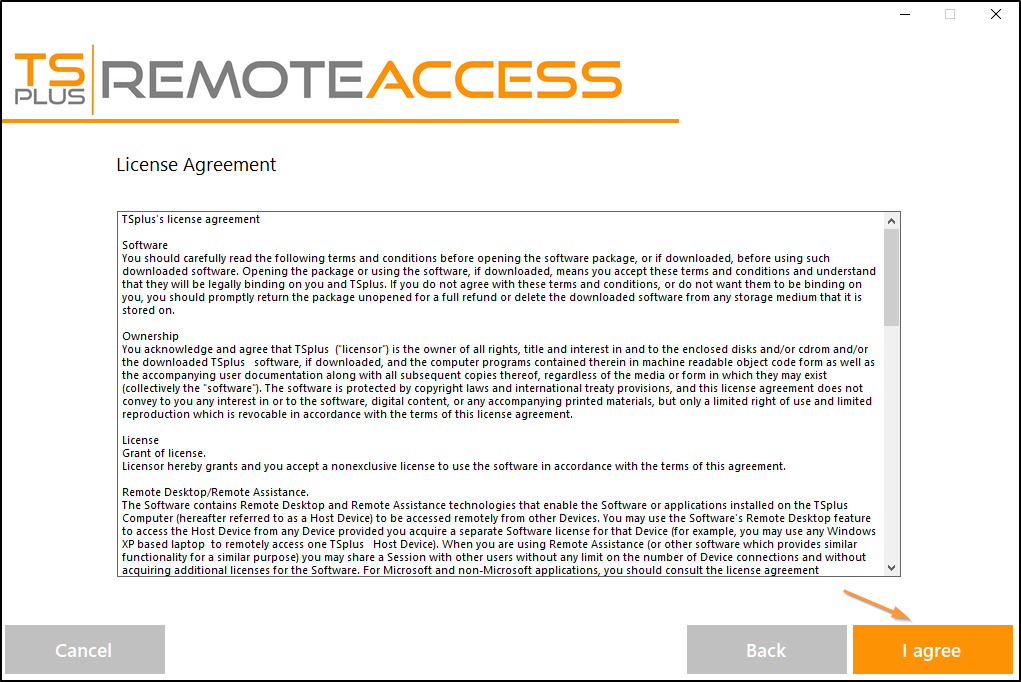
Click on “I accept the agreement”.
Please wait, downloading and installing the program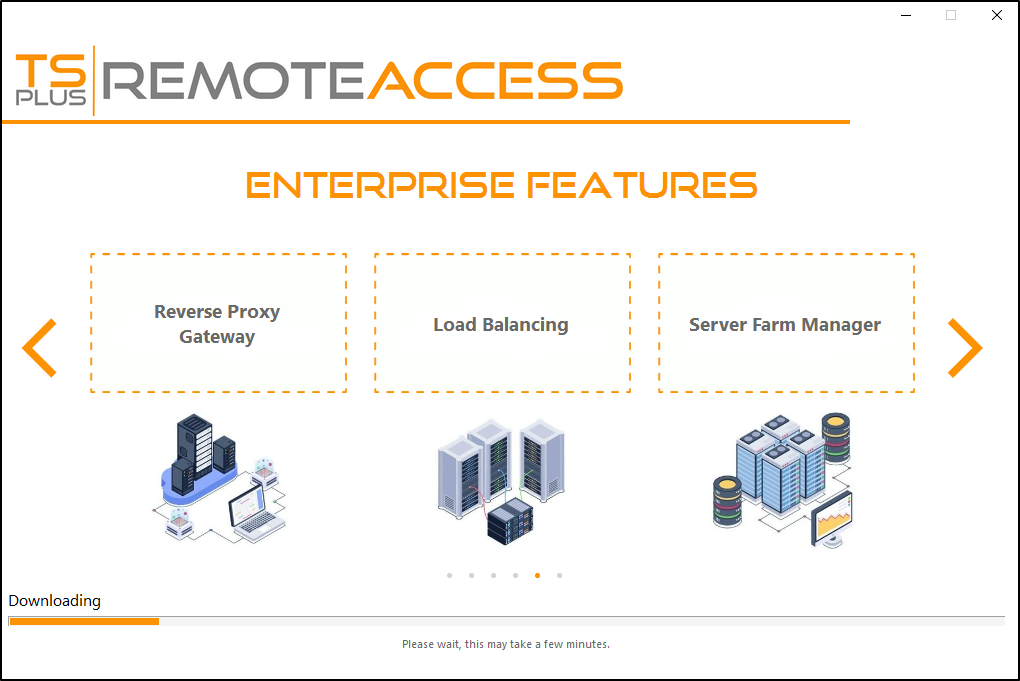
Then the TSplus logo appears and a window informs you about the completion of the installation.
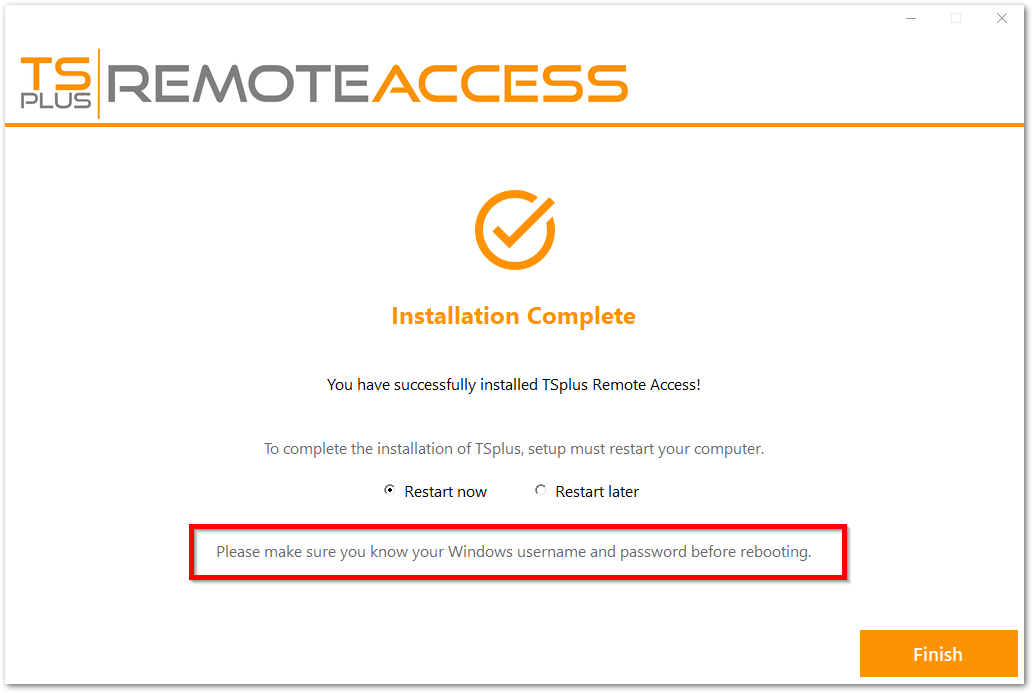
⚠ Important Notice
For security reasons, TSPlus Remote Access will require you to manually enter your username and password at each login.
Make sure you know your credentials before restarting the system to avoid being locked out.
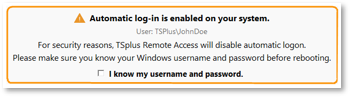
If autologon is enabled on the system, the installer will show a warning popup asking you to confirm you know your username and password.
To use TSplus, you must reboot your system. The trial period delivers a full product for 15 days and 5 concurrent users.
The steps below only if you check install TSplus Remote Access in Advanced mode.
Web servers are listening on ports 80 and 443 by default. We recommend you to accept our TSplus default installation settings. According to our experience, most of the production issues are due to Windows security features.
You can still modify these ports if you wish during installation or at any time on the Built-in Web Server Management of the AdminTool. Just make sure that the defined ports are available and that Java is installed on the server.
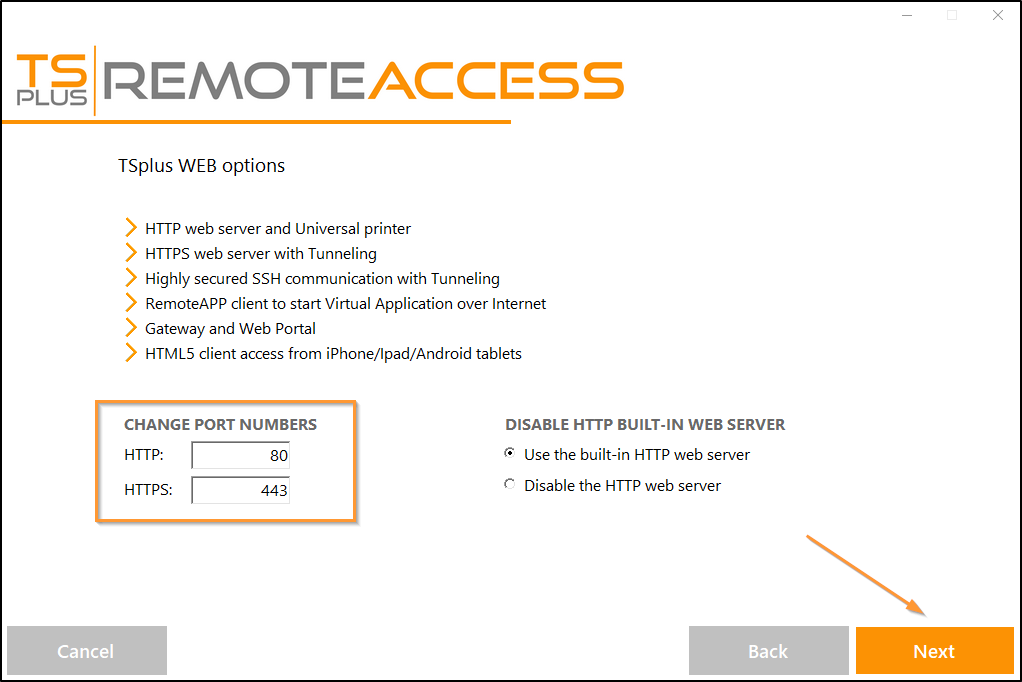
Click on “I accept the agreement”.
The progress bar appears and allows you to follow the progress of the process:
- Since TSplus 11.40 version, you will have the choice to install TSplus Advanced Security, our powerful Security Add-On, in its Ultimate trial version (All Security features free to use for 2 weeks) to your TSplus system:
For more information about this product, see pages about TSplus Advanced Security documentation.
Then the TSplus logo appears and a window informs you about the completion of the installation.
⚠ Important Notice
For security reasons, TSPlus Remote Access will require you to manually enter your username and password at each login.
Make sure you know your credentials before restarting the system to avoid being locked out.
If autologon is enabled on the system, the installer will show a warning popup asking you to confirm you know your username and password.
To use TSplus, you must reboot your system. The trial period delivers a full product for 15 days and 5 concurrent users.
Activating Your TSplus License (Online) Permanent or Subscription.
Locate the Administrator Tool on your desktop :
- If you cannot find the admin tool shortcut, it should be located in the desktop folder on the administrator account used to download TSplus. You can also find the TSplus folder on this path: ‘C:\Program Files (x86)\TSplus\UserDesktop\files’.
Double-click on it, then click on the license tab.
Here you can see the status of your TSplus license, as well as your Computer ID and Computer Name :
if it displays “UNREGISTERED” it means that your server is not connected to the internet and you need to check your server’s web access before continuing.
Activate your licenses on an online TSplus server
When you order a license, connect to our Licensing Portal and enter your Email Address and your Order Number:
Download the Customer Portal User Guide for more information about how to use it.
Your activation key will be displayed at the top of the dashboard:
You can then go to the License Tile of the AdminTool, click on the “Activate your License” button, enter this activation key and click on “Next” .
You will find your permanent activation key (XXXX-XXXX-XXXX-XXXX) in our order confirmation email.
If you wish to activate your subscription, please enter your subscription key (S-XXXX-XXXX-XXXX-XXXX).
You will get a list of all the available licenses/supports assigned to this activation key, i.e. all licenses/supports not activated yet:
Check one or more items and click on the “Next” button. Please note that you can activate several products at the same time by checking several products/support!
All your products/support are now activated (in this example, both TSplus with support and TSplus Advanced Security have been activated at once).
Refresh your License Data by clicking on the corresponding button at the bottom of the page, it will synchronize information with our Licensing Portal:
Configure
the TSplus Admin Tool
After installing TSplus, your server is immediately ready to go.
However, you can customize all the system parameters with a powerful Administrator Tool.
To do so, click on the following icon created on your Desktop:
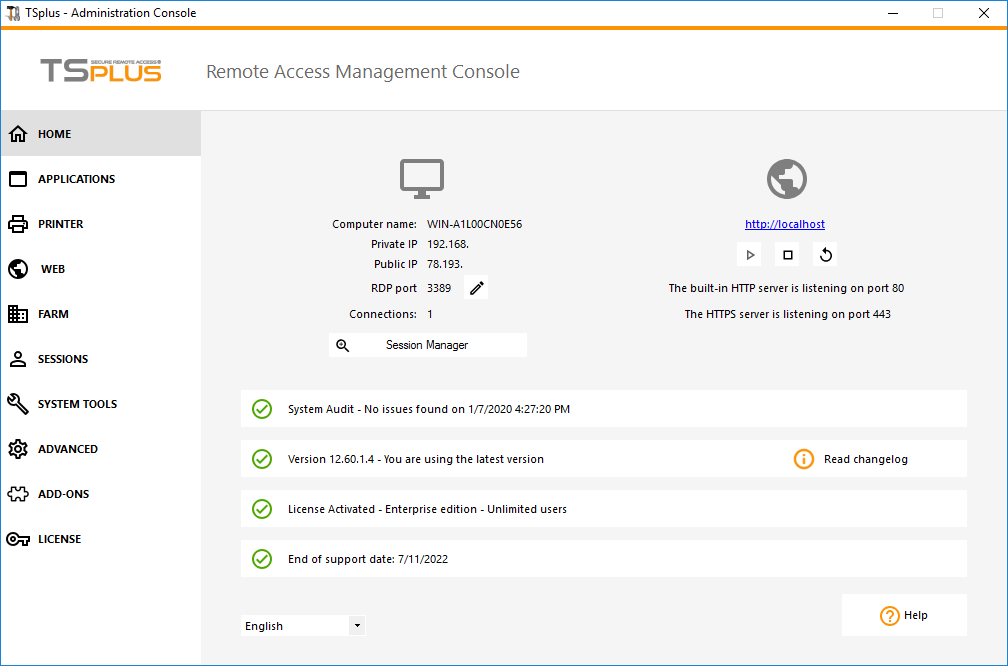
 The Administrator Tool will then be displayed:
Configure the TSplus Web Portal
Terminal Service Plus Web Application Portal provides a single, flexible solution that can streamline application and desktop deployment and life-cycle management to reduce IT costs. By centrally managing and web delivering on-demand applications, IT can improve the success rate of application deployment providing role-based management, application control, security and users support.
Terminal Service Plus Web Application Portal virtualizes and transforms Windows apps and desktops into a secure on-demand service.
With Web Application Portal, you will be able to publish Microsoft Windows applications (business applications, Office applications…) to the web.
As in Citrix, your users can access their applications directly from the Internet, simply by clicking on the application icon in the Portal web page, directly inside their own Internet browser.
Managing your Web Applications
The Web Application Portal feature is fully integrated in Terminal Service Plus. It means that all the applications published by Terminal Service Plus Applications Publishing feature can be used in the Web Applications Portal.
If you would like to know more about this publication process, feel free to read our documentation about Application Publishing and Assigning Applications to Users or Groups.
Designing your Web Applications Portal
In the Admin Tool, open the “Web” tab and click on the “Web Portal Customization” tile and go to the “Application Portal” tile.
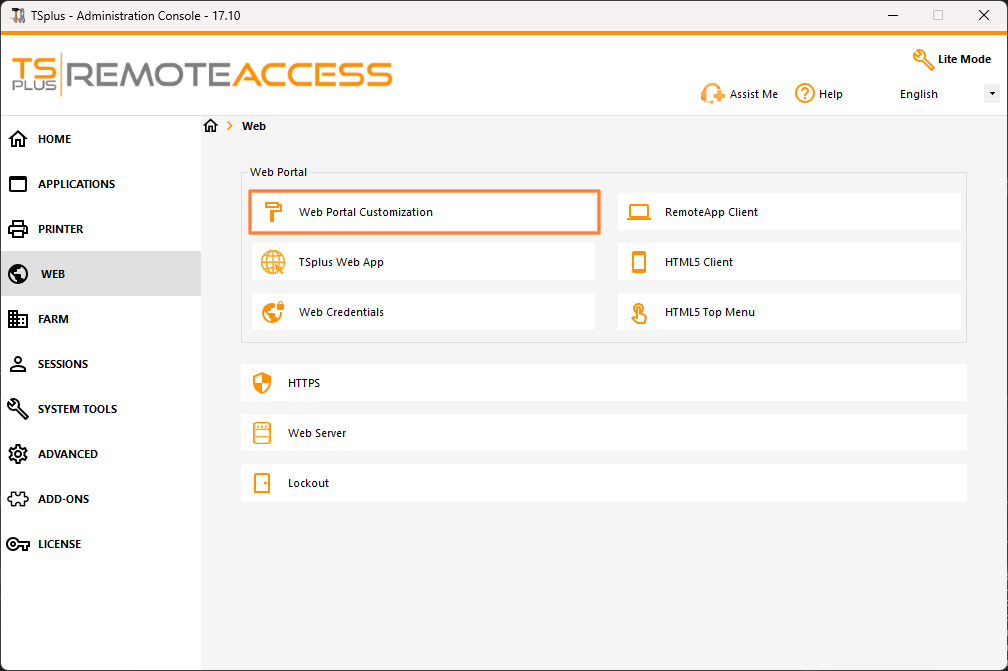
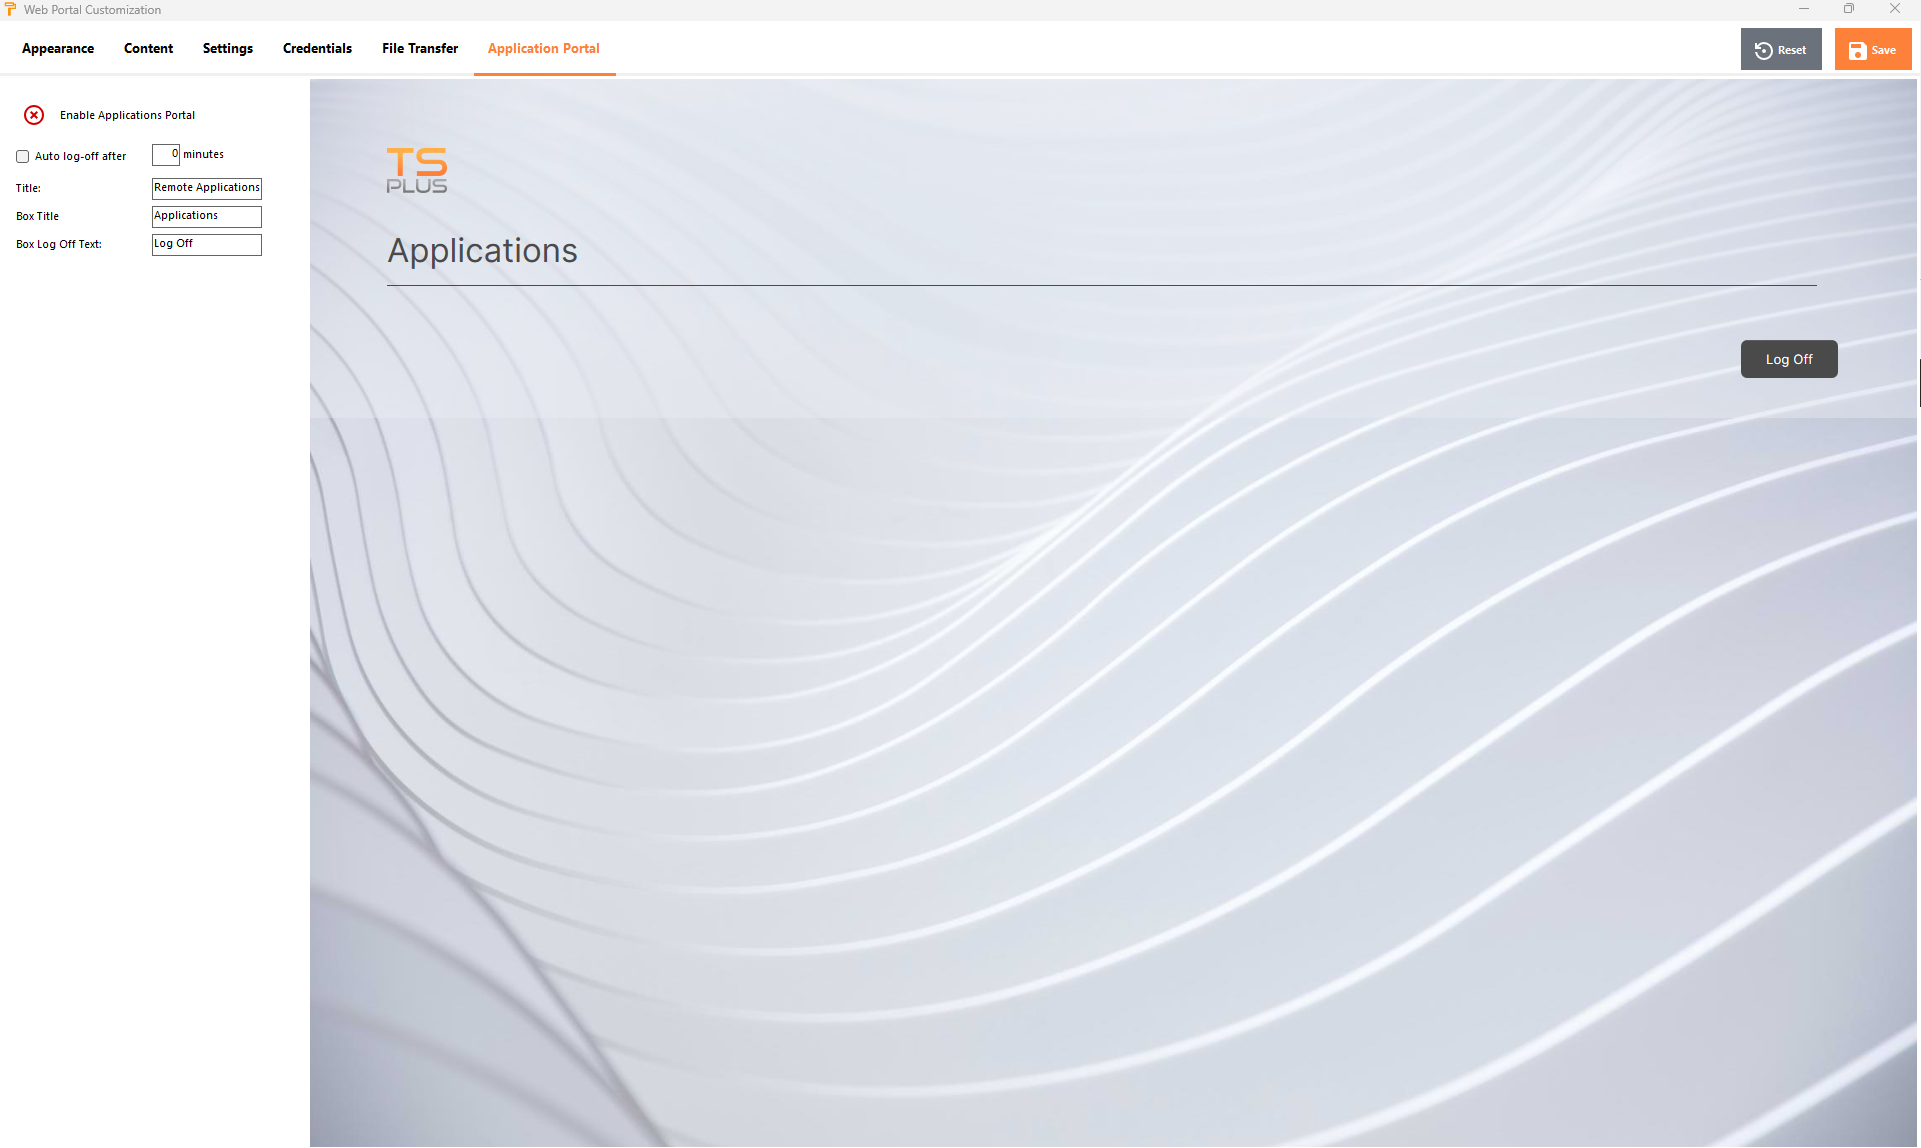
To generate a web access page with the Web Applications Portal feature activated, check the “Enable Applications Portal” checkbox. You can customize your web access page to your liking, then click on “Save” to publish this new web access page.
Note: You can change the box and the box border colors only for the Classic themes which can be changed on the Appearance tab.
Using the Web Applications Portal
On this example we have published the new web access page with the default name “index”.
To access it, open a web browser and go to http://your_server_name/ (in this example we use http://localhost , directly from the server itself).
The first web page displayed is the standard Terminal Service Plus web logon page:
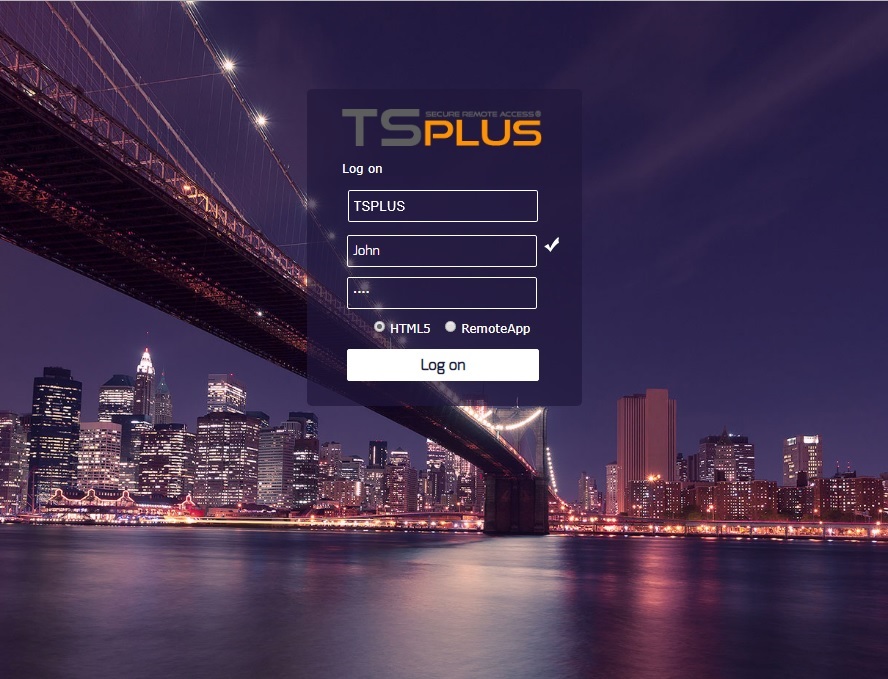
Once logged in, a new web page is displayed, this is the Web Applications Portal:
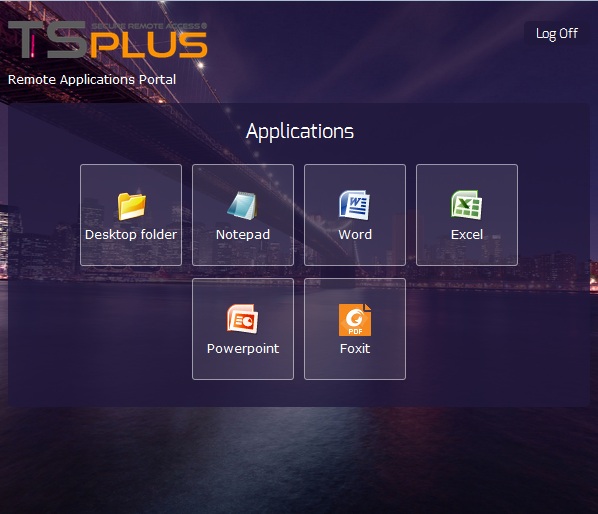
As you can see, the user gets an icon for every published application that he has access to.
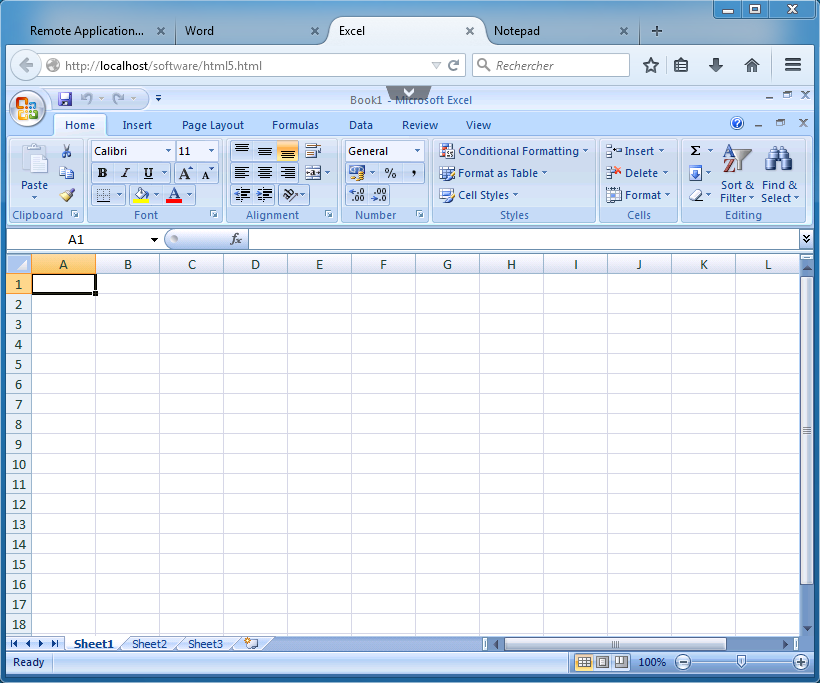
The user can now click on one or more icon, in order to remotely open the matching application in a new tab:
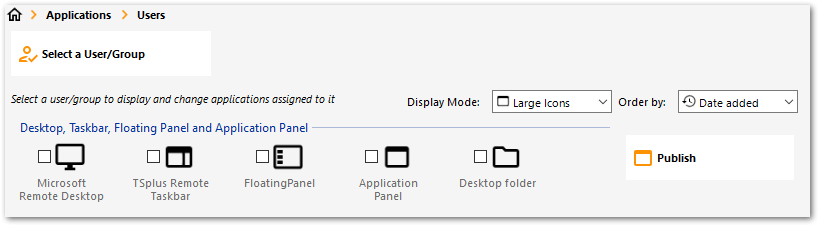
If you want to use only the application portal without opening a windows session, remote taskbar, floatingpanel,…, you must uncheck all the boxes associated with the user profile.
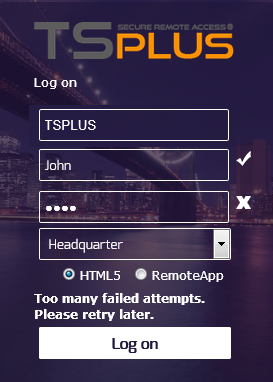
Since TSplus 11.40 release, brute-force attacks on the Web Portal are now blocked when users enter wrong credentials.
After 10 attempts during a period of 15 minutes, the Web Portal will prohibit the user to logon for 30 minutes (customizable on the Advanced - Lockout tab of the AdminTool) :
These are the default settings which are customizable on the hb.exe.config file located on the TSplus folder:
TSplus\Clients\www\cgi-bin\hb.exe.config in the “appSettings” paragraph.
You can check all blocked connections and logs by users on the Lockout feature of TSplus:
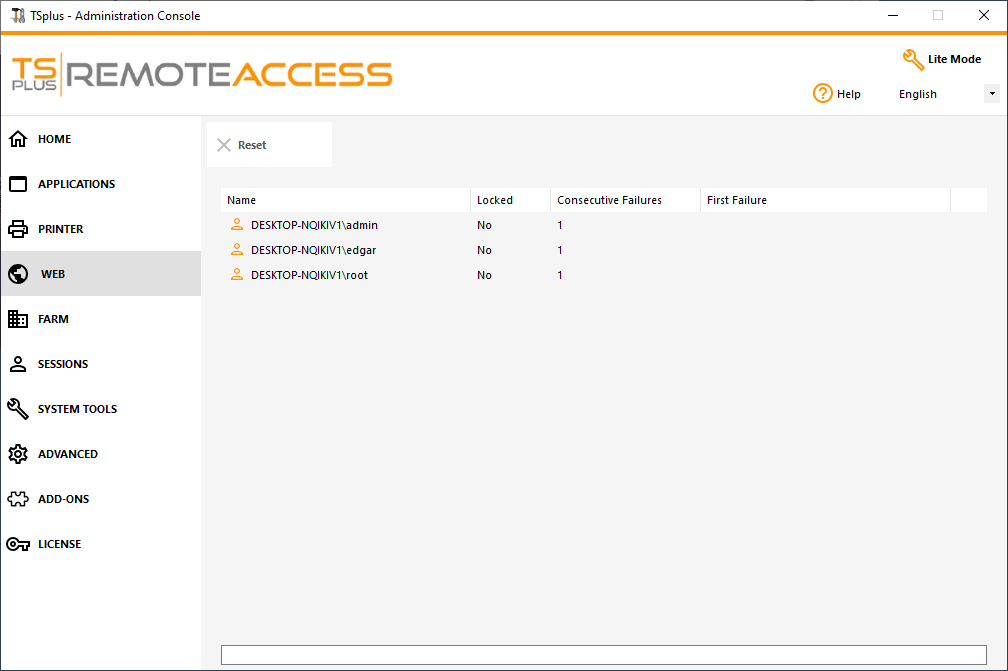
This functionality is visible and active after the first Web Portal connection.
Configure the HTML5 Client
On this tile, you can edit the parameters for the HTML5 client web display:
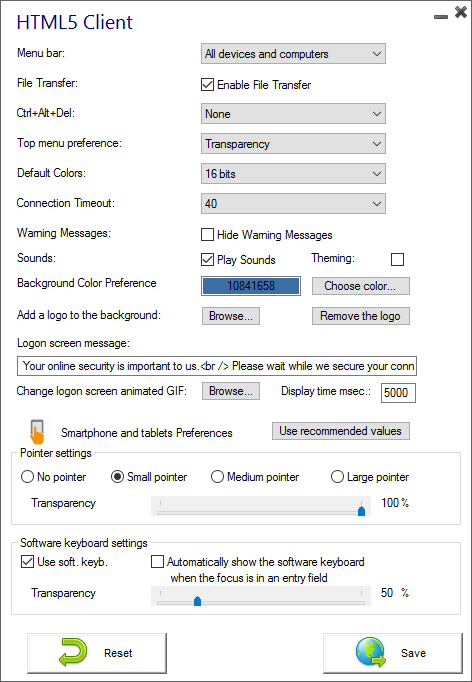
- Display the menu bar for all devices and computers or for mobile devices only.
- Enable or Disable File Transfer.
- Allow the Ctrl + Alt + Del shortcut on a specific type of device.
- Choose your favorite Top Menu display between transparency and solid.
- The number of graphical color bits.
- The Connection Timeout.
- Show or Hide Warning Messages.
- Enable or disable sounds.
- Choose your favorite background color.
- Add a logo to the background.
- Change the logon screen message and animated gif, as well as its display time in milliseconds.
Smartphone and tablets Preferences:
If the administrator uses the software keyboard, when it is hiding an entry field, the application is moved up and the user is still able to see what he is typing.
The administrator can select a small, a medium or a large size for the mouse pointer or no mouse pointer at all. It makes intuitive for the user to navigate inside his application.
He can also select the level of transparency for mouse and keyboard.
HTTPS & SSL Third Party Certificates
Add your own certificate
If you already have a valid HTTPS certificate you can add it to your web server.
Open TSPlus AdminTool, click on the “Web” tab, go to the “HTTPS” menu and then click on “Add my HTTPS certificate” as shown in the screenshot below:
A window will open where you can select your certificate:
Your certificate file must use the “.pfx” format.
If your certificate is protected by a password, you can enter it in the corresponding field.
Click on the “Add my certificate” button to add your certificate.
Please note that you will need to renew your certificate manually.
Additional links
Trusted SSL Certificate vendors:
You can convert your .pem in pfx format with Tools or online sites. For example, on this site: https://www.sslshopper.com/ssl-converter.html
You can use this SSL Server Test tool in order to validate the good quality of a web portal in HTTPS.
Adding a Third Party Certificate
Inside the “C:\Program Files (x86)\TSplus\UserDesktop\files\cert” folder, create a file named “certpassword.txt” containing only the certificate password. As a server administrator, run the following command:
“C:\Program Files (x86)\TSplus\UserDesktop\files\cert\CertificateManager.exe” /add “your-certificate-path”
If you are using TSplus Advanced Security you might need to temporarily disable the Geographic Protection feature for it to work. You can delete your password file after running the command.
Related Articles
Printing and Redirection
Universal Printer (novaPDF) The TSplus Universal Printer allows you to preview or print documents from any PC or mobile device supported by TSplus Remote Access. Universal Printer is relevant from an HTML5 session and when connected using a generated ...TSplus Troubleshooting
Overview This category provides troubleshooting guides for common TSplus issues, including login failures, web portal and HTML5 client problems, published application errors, session disconnects, performance issues, licensing errors, redirection ...User and Application Management
Overview TSplus allows administrators to publish individual applications or a full remote desktop to end users without granting them a traditional Windows login. Instead of managing full remote sessions for every user, admins can control exactly what ...