Session Management
Overview
TSplus allows administrators to publish individual applications or a full remote desktop to end users without granting them a traditional Windows login. Instead of managing full remote sessions for every user, admins can control exactly what each person sees and can access — a single app, a handful of apps, or the entire desktop — all from one central Admin Console.
This article covers the core day-to-day TSplus administration tasks: adding and removing user access, publishing and unpublishing applications, assigning specific apps to specific users or groups, publishing a full desktop session, and locking users down to only the applications they need. Use it as a quick reference when onboarding new users, changing access levels, or cleaning up unused accounts and applications.
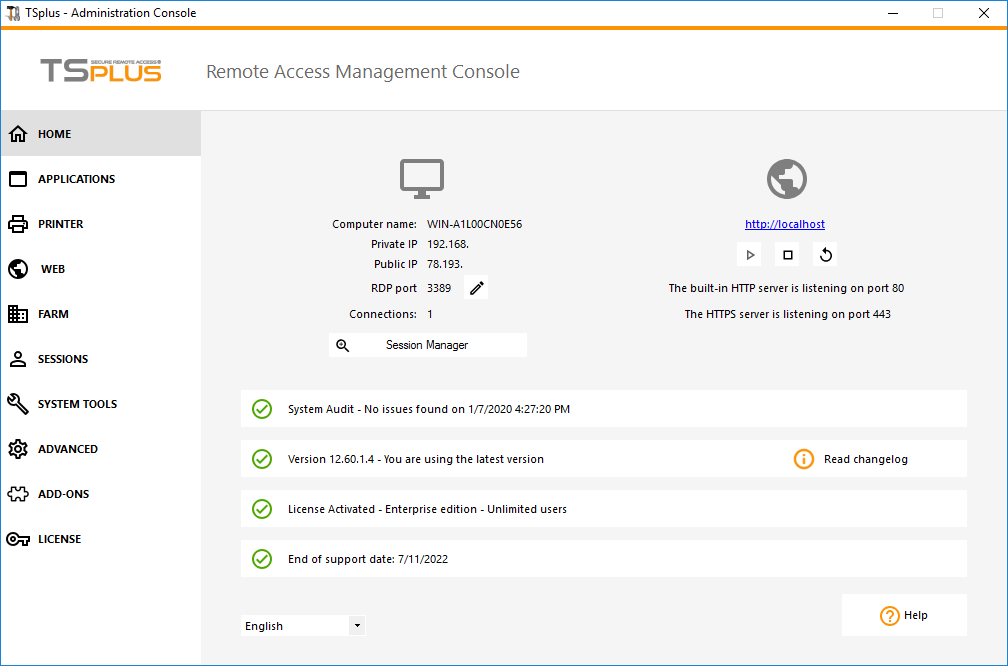
On the Home tab of the AdminTool, you can see all the needed information about your TSplus server:
Changing the RDP port number and setting up the firewall
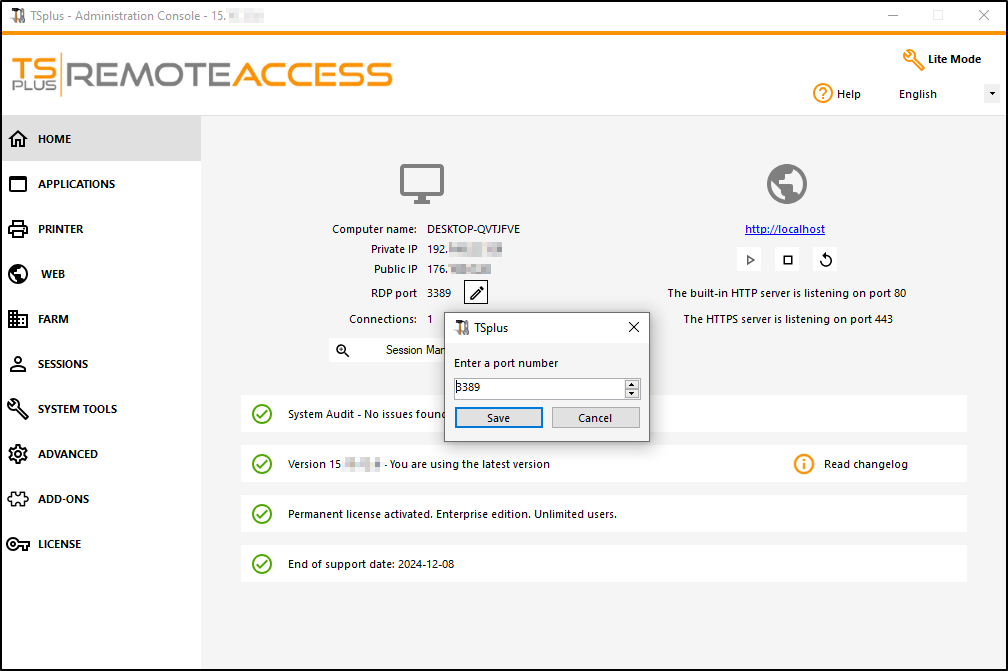
With the AdminTool, you can select a different TCP/IP port number for the RDP service to accept connections on. The default one is 3389. You can choose any arbitrary port, assuming that it is not already used on your network and that you set the same port number on your firewalls and on each TSplus user access programs.
TSplus includes a unique port forwarding and tunneling capability: regardless the RDP port that has been set, the RDP will also be available on the HTTP and on the HTTPS port number!
If users want to access your TSplus server outside from your network, you must ensure all incoming connections on the port chosen are forwarded to the TSplus server.
Management of users and sessions
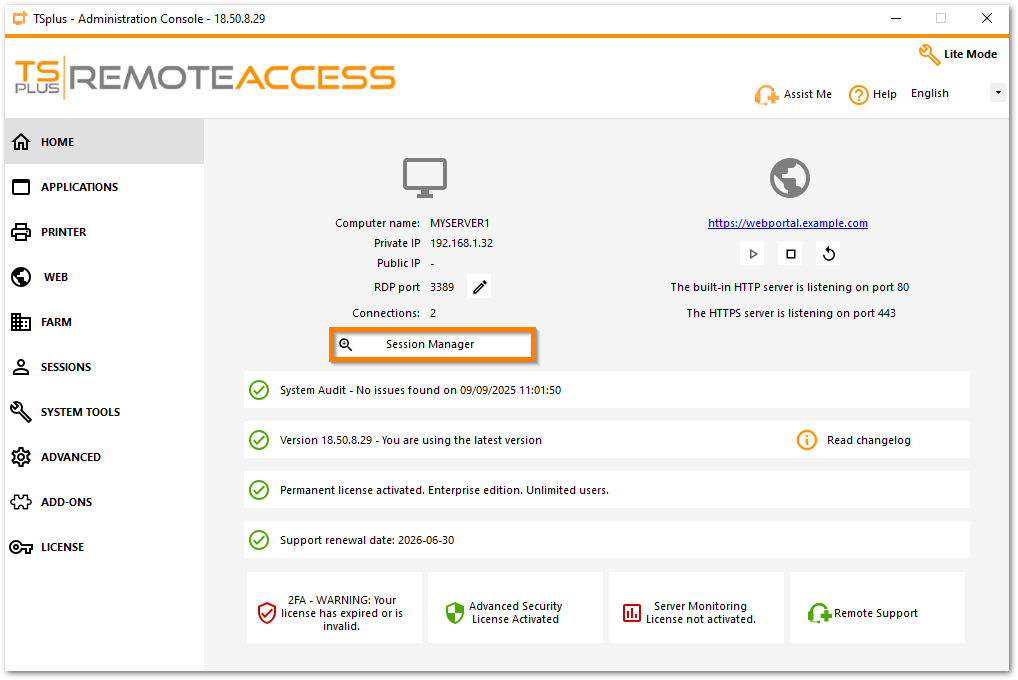
The session manager is located right below the RDP port:
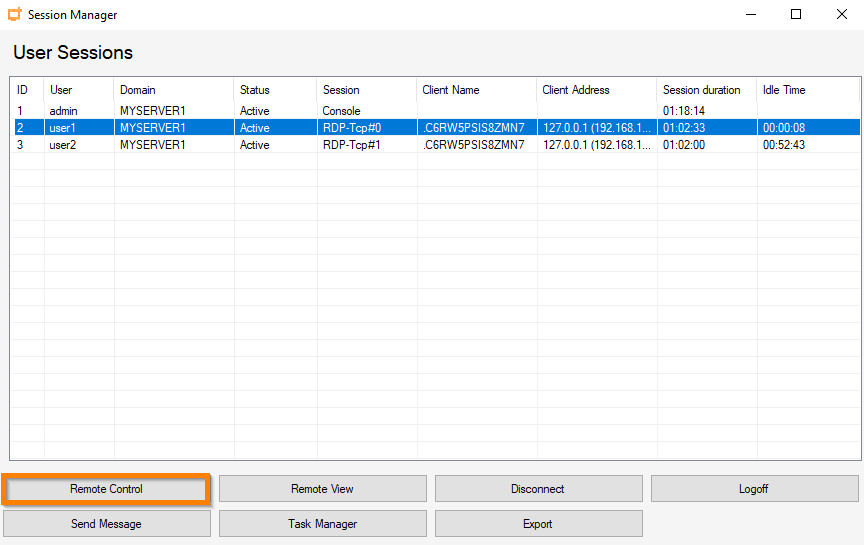
You can display your server’s task manager, and you have the possibilities to active a remote control, disconnect, logoff or send a message to your users.
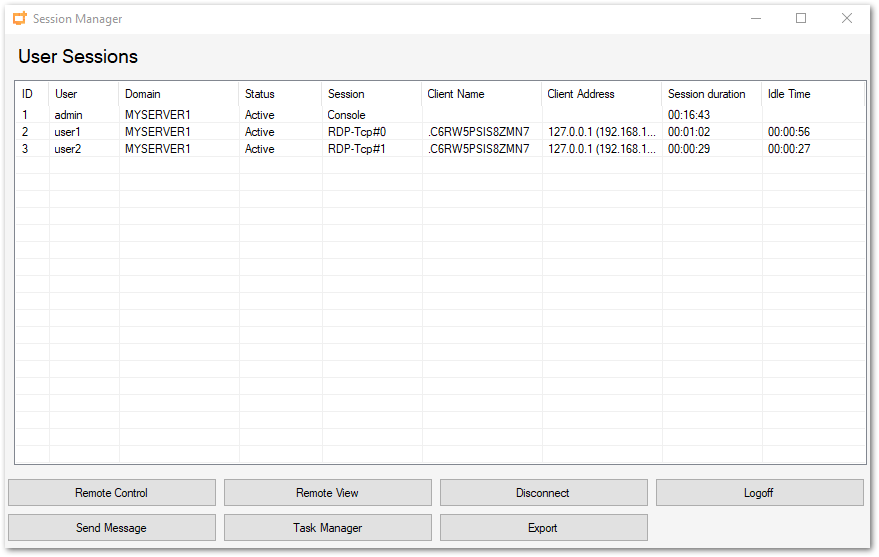
You can activate the remote control via a remote session with an admin account on the following Operating Systems:
- Windows Server 2008 R2
- Windows Server 2012 R2
- Windows Server 2016
- Windows Server 2019
- Windows 7
- Windows 8.1
- Windows 10 pro and above
On Windows XP, 2003, Vista, and 2008 there is no remote control button.
On Windows 2012 and 8 a message appears advising you to update to 2012 R2 or 8.1.
When you activate the remote control for a user’s session, this message appears, indicating the keyboard shortcut to end the session:
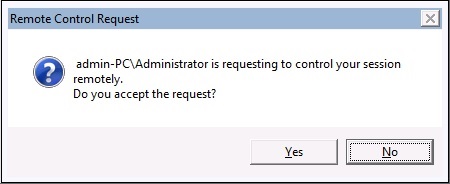
On the client side, this message appears to accept the remote control:
You can also send a message to your user:
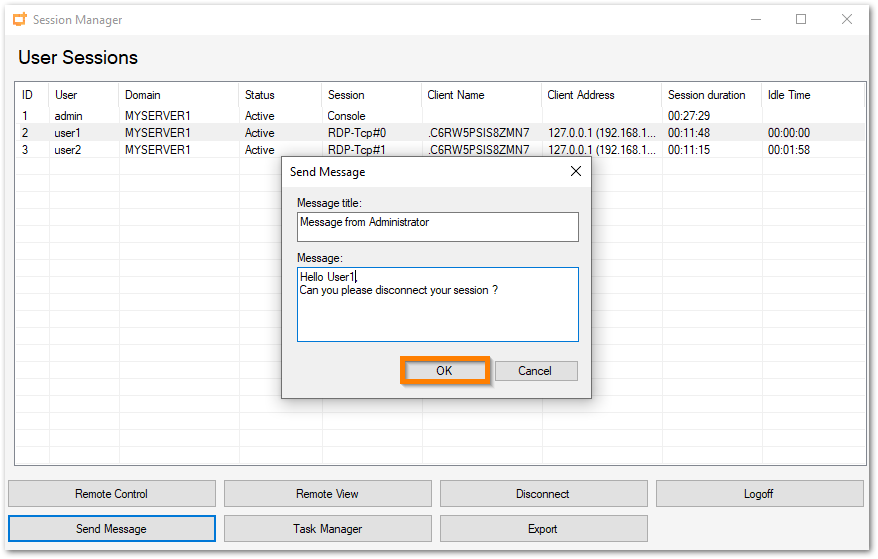 Message sent on Server Side
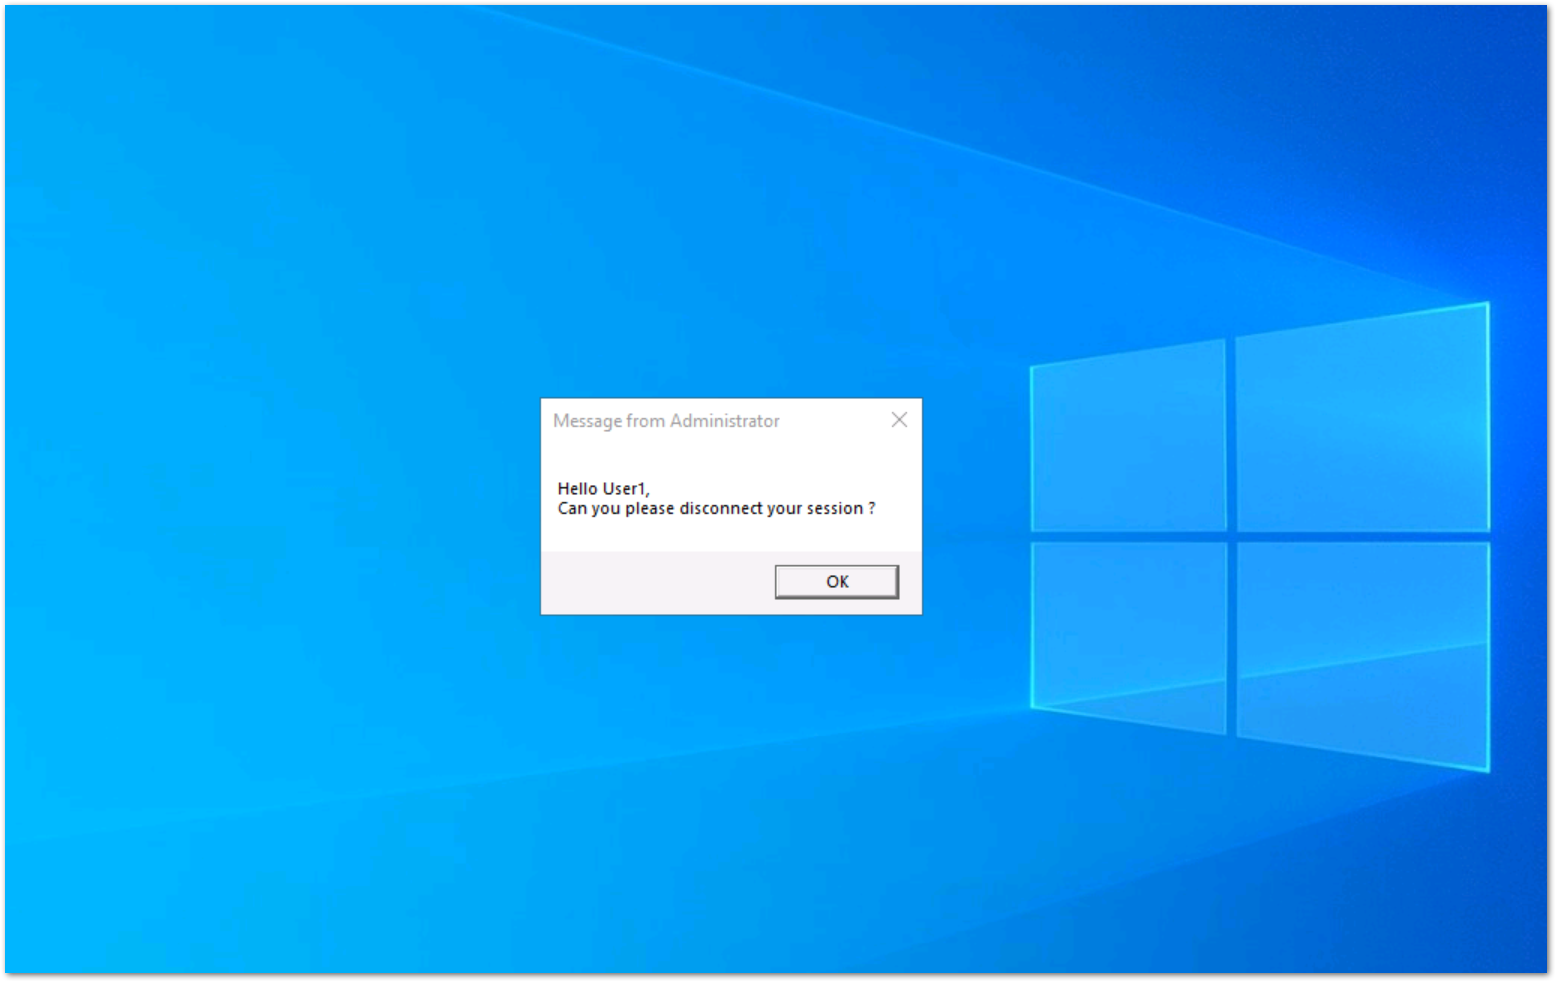 Message appearing on Client Side
See this documentation for more information.
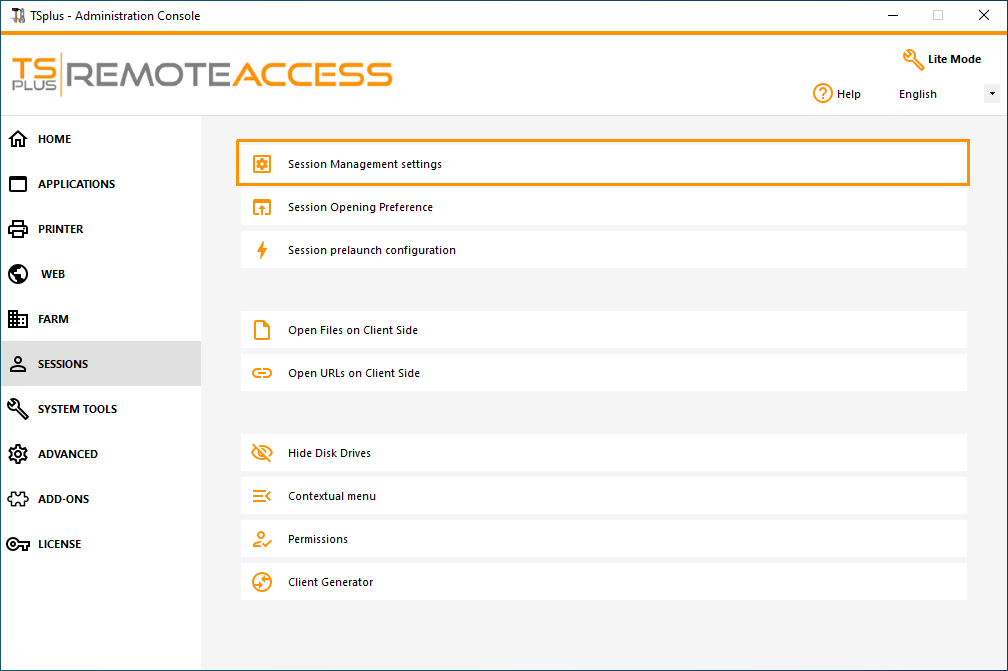
- With the Session Management Settings (GPO) tab, you can set various connection settings for each session and user:
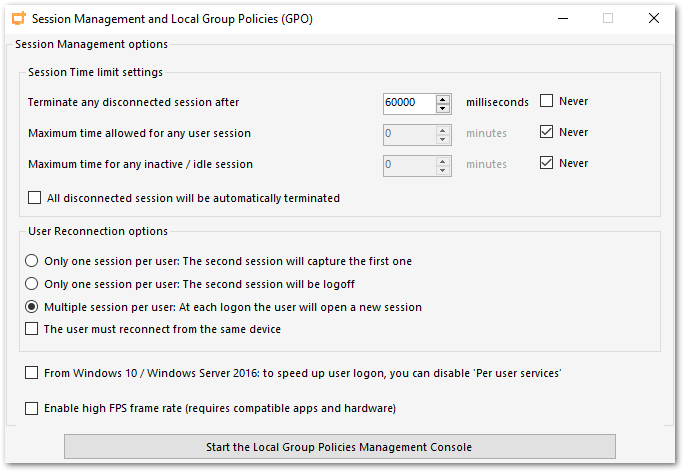
Windows Server 2016 introduced a new “Per user service”, which makes services start all processes per users, which slows the users logons time.
Since TSplus 11.70 release, you can disable per user services in order to speed up users logons.
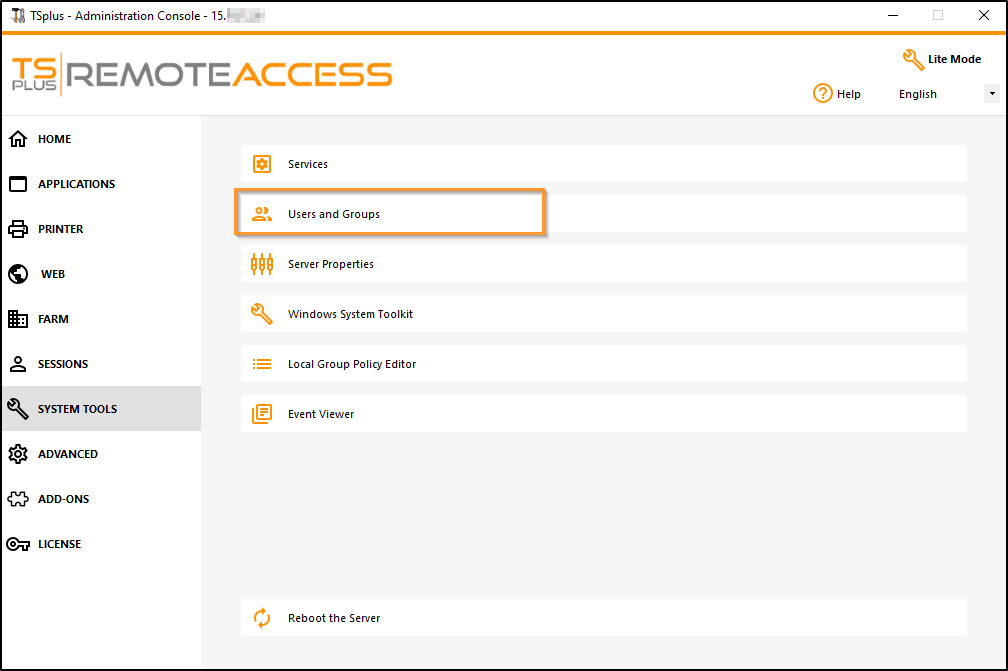
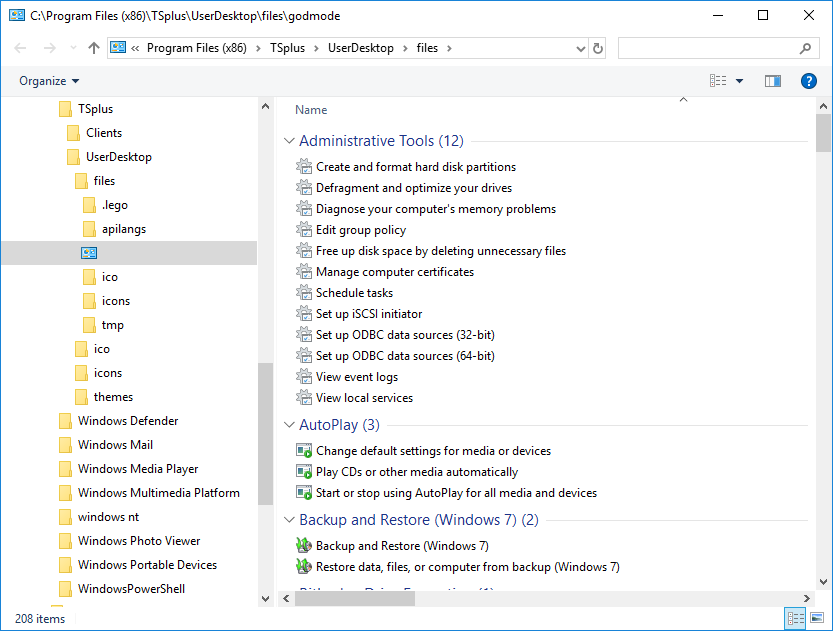
- The Windows Toolkit is an enhanced control panel, summarizing all the Windows Administration tools.
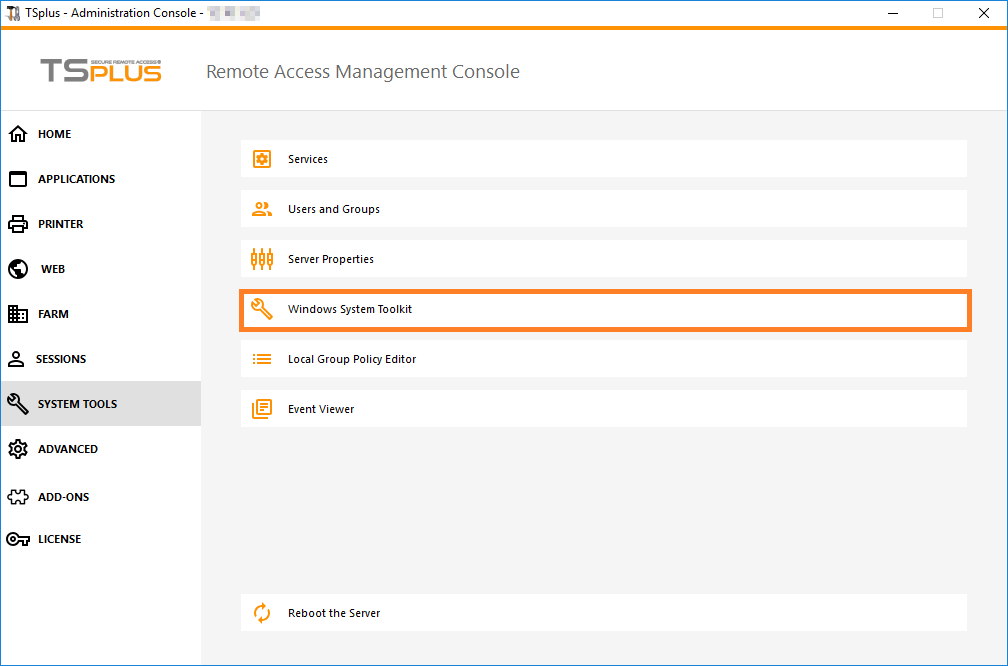
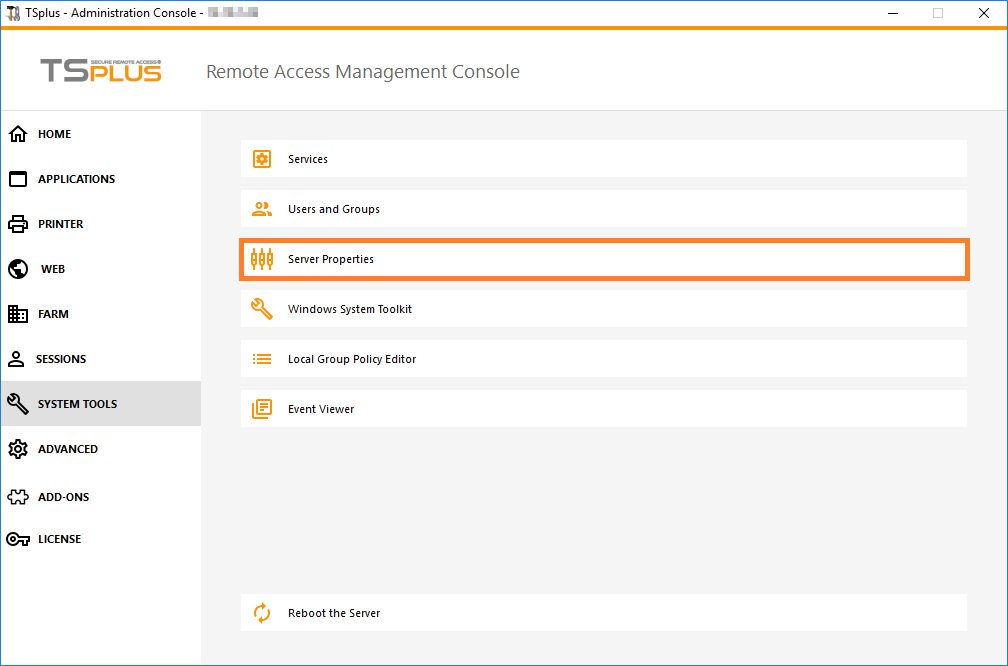
- You can also launch the “Server Properties” tab to have an overview of the control panel.
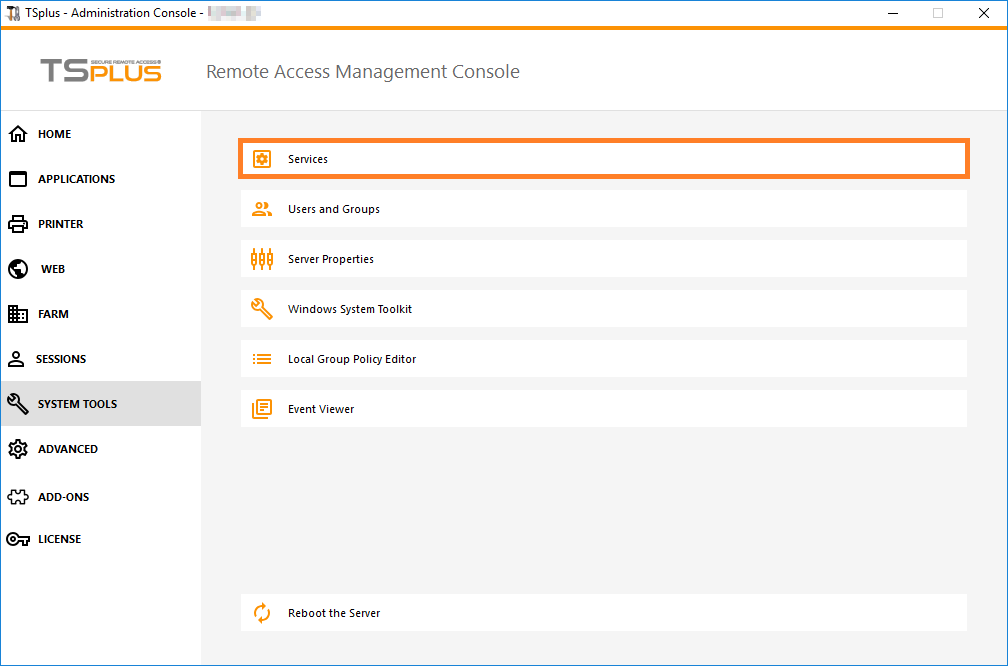
- You can see all the services on your server and their status on the Services tile.
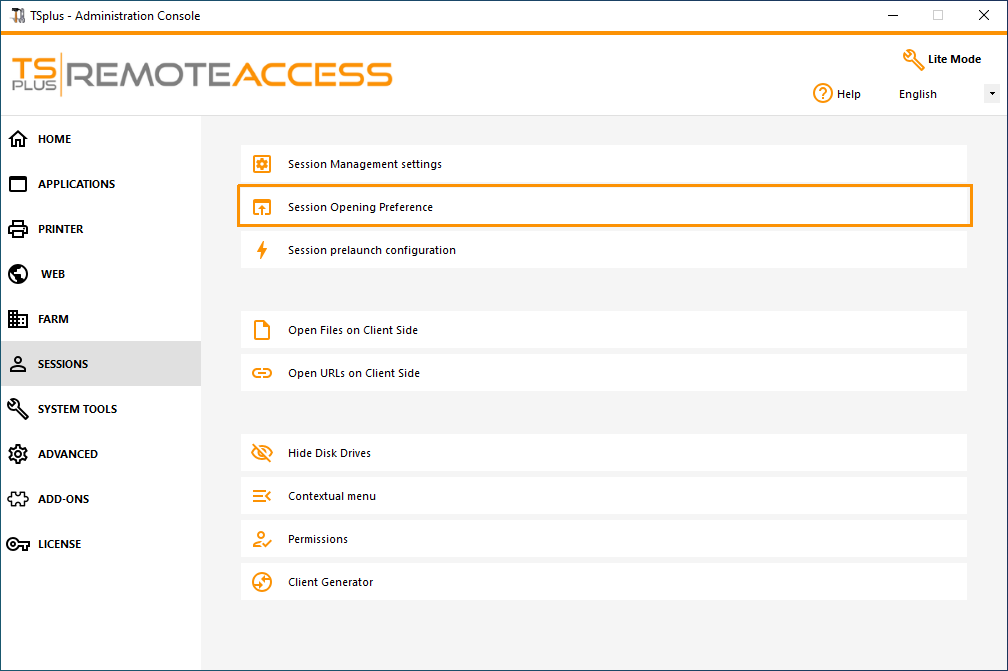
The session opening preference allows you to choose your shell session preference, your logon preferences, the background color of your sessions, add your own logo and rename it to your liking.
By default, on these logon preferences are enabled:
- The “Display progress bar during logon”.
- “Enable Time Zone Redirection” which enables the client computer to redirect its time zone settings to the Remote Desktop Services session. If you enable this policy setting, clients that are capable of time zone redirection send their time zone information to the server.
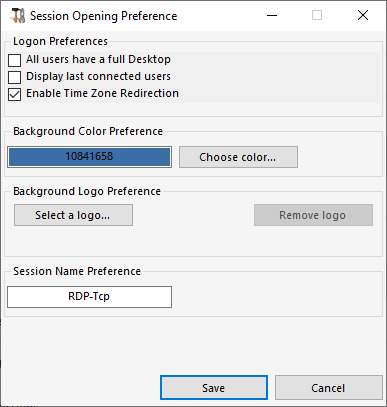
You can also set a full Desktop for all your users and get a display the last connected users by ticking the corresponding boxes. You can customize your users sessions by adding a new Background Color, another logo or none and use the session name of your choice.
Related Articles
User and Application Management
Overview TSplus allows administrators to publish individual applications or a full remote desktop to end users without granting them a traditional Windows login. Instead of managing full remote sessions for every user, admins can control exactly what ...Printing and Redirection
Universal Printer (novaPDF) The TSplus Universal Printer allows you to preview or print documents from any PC or mobile device supported by TSplus Remote Access. Universal Printer is relevant from an HTML5 session and when connected using a generated ...Installation and Configuration
Installation Run TSplus Remote Access Setup program and then follow the installation steps. Your local administrator password is required after the first restart of TSplus Remote Access. You can then select your language (possible to change it later) ...TSplus Troubleshooting
Overview This category provides troubleshooting guides for common TSplus issues, including login failures, web portal and HTML5 client problems, published application errors, session disconnects, performance issues, licensing errors, redirection ...Security
Overview This category covers the essential security features in TSplus, including two-factor authentication, access restrictions, brute-force protection, password policies, security logs, and web portal security to help protect your remote access ...